
Replacing a sliding glass door is one of those jobs that looks simple on paper but can wreck your house if you get it wrong. As a Journeyman Carpenter, I’ve pulled out more “modern” doors than I can count because someone forgot the basic laws of physics.
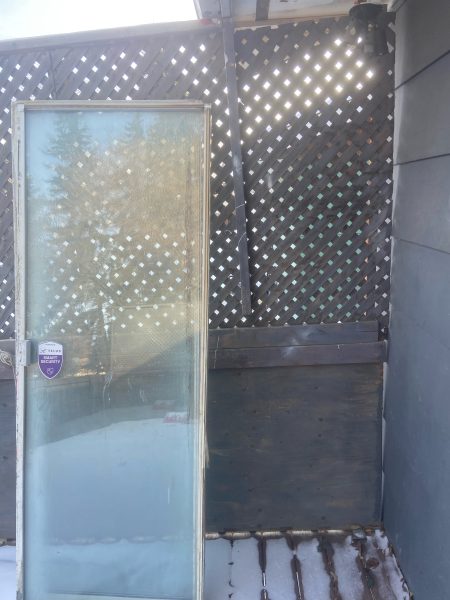
In 2026, the technology—like flexible flashing tape and low-expansion foam—has made the job easier, but the fundamentals of a square, level, and dry opening haven’t changed.
The Snippet Killer: Is DIY Patio Door Installation Possible?
Yes, but it requires two people and a strict “bottom-up” waterproofing strategy. A standard 6-foot sliding patio door is heavy (often 150-200 lbs) and requires a structurally sound header. The key to a successful install is ensuring the subfloor is level and supported every 6 inches with shims. If your door isn’t square within 1/16th of an inch corner-to-corner, the tandem rollers will eventually bind or the seal will fail.
1. The “Measure Twice, Tear Once” Reality Check
The most common nightmare I see? Someone rips out their old door only to realize the new “standard” 6-foot door is half an inch taller than the 1980s version they just demolished.
- The Golden Rule: Always pull your interior casing and measure the Rough Opening (R.O.) before you touch a pry bar.
- The Threshold Fix: If your new door is shorter than the opening, it’s a simple fix. Build up the bottom plate. It’s easier to trim out on the inside, and it gives you a solid foundation to work with.
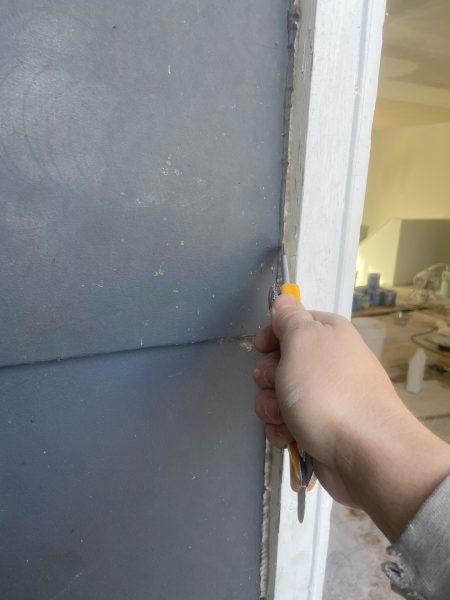
- The J-Trim Dilemma: If you have a nailing flange, use it. Don’t cut it off just to save 20 minutes of siding work. Removing the J-trim is the only way to ensure your flashing tape actually integrates with the house wrap.
2. Waterproofing: The “Downhill” Strategy
Water doesn’t care how expensive your tape is; it only cares about gravity. If you layer your flashing wrong, you’re just creating a funnel into your subfloor.
- The Bottom-Up Method: Always start your tape at the bottom sill and work your way up the sides. This ensures the side pieces overlap the bottom piece.
- Flexible Flashing Tape: This is the “secret weapon” for apprentices. It allows you to wrap the corners in one continuous piece. If there’s a seam, there’s a leak.
- The Belt-and-Suspenders Seal: Unlike a window, I always advocate for a bead of high-quality silicone on the bottom. In cold climates, snow sits on that threshold, melts, and finds its way in. Don’t give it a chance.
3. The 6-Inch Rule: Preventing “Threshold Flex”
90% of DIYers shim the four corners and call it a day. That is a recipe for a door that sticks in two years.
When people step on that threshold, they are putting 200 lbs of pressure on a hollow gap. If that plate bends, the track warps, and the rollers get chewed up.
- The Pro Fix: Shim the bottom every 6 inches. Fill that void completely. You want that threshold to feel like it’s sitting on solid concrete.
4. Squaring the Opening: The 3-4-5 Method
If your door isn’t square, it won’t slide. Period. Don’t rely on a bubble level alone—houses settle, and your walls might be leaning.
| Method | How to Do It | Why It Works |
| Corner-to-Corner | Measure diagonally from top-left to bottom-right, then vice versa. | If the numbers match, you’re square. |
| The 3-4-5 Method | Measure 3ft up, 4ft across. The diagonal should be exactly 5ft. | Simple Pythagorean theorem—works every time. |
| The Air Shim | Use an inflatable air bag to “nudge” the door into place. | Allows for micro-adjustments without the “tap-tap-tap” of cedar shims moving the door too far. |
5. The “Red Seal” Finishing Touches
Once the door is in and square, don’t just grab a can of “Great Stuff” and go to town.
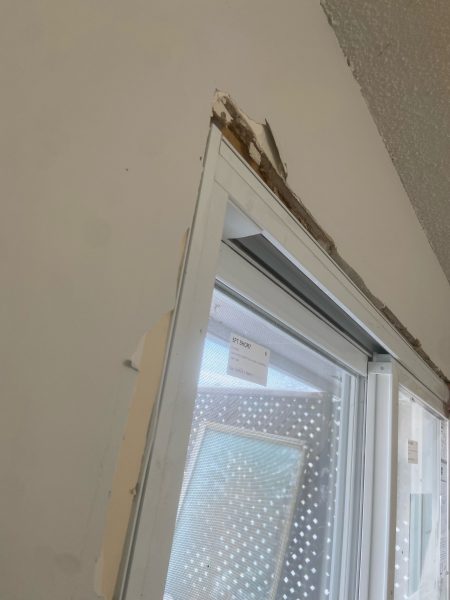
- Window & Door Foam Only: If you use high-expansion foam, it will literally bow the jamb of your new door and lock the slider in place. Use the low-pressure stuff.
- The Interior Flush: Always make the door flush with the inside drywall. You can hide a lot of “ugly” on the outside with siding and trim, but a bad drywall-to-door transition will haunt you every time you look at it from the couch.
The Journeyman’s Kit
- Air Shims: “I don’t hang doors without these anymore. They turn a two-man struggle into a one-man precision job.”
- Flexible Flashing Tape (Butyl): “Worth the extra $10. It actually sticks in the cold and wraps corners without a leak.”
- Boss Hammer: “If you’re pulling J-trim and nailing flanges, do your elbows a favor.”
- Oscillating Multi-Tool: “The only way to cleanly cut back siding or trim in a tight corner.”